Exporting an Address Book from ACNSMail and Importing into Exchange/Office 365
This document provides instructions on how to export a copy of your contacts from an address book in ACNSMail ("ACNSMail" is the name of the web-client for the Lamar e-mail system and is accessible at https://acnsmail.colostate.edu) and import the resulting .csv (comma separated values) file using Outlook.
NOTE: The CSV file created includes only contacts from the address book. Any contact groups (mailing lists) created on ACNSMail will not be included in the .csv file. Contact groups will need to be manually re-created in Exchange using Outlook or Outlook Web App.
Export your ACNSMail Address Book:
- Using your eID, logon to your Lamar account using ACNSMail at https://acnsmail.colostate.edu
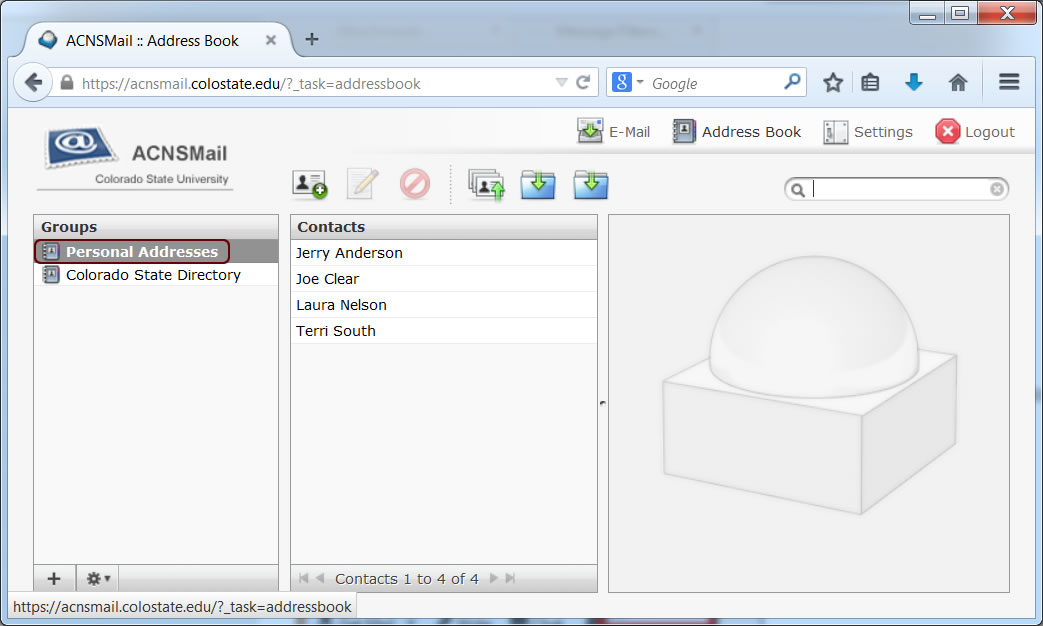
- Click on the Address Book icon on the top menu:
- Within the Address Book, verify the Group highlighted is Personal Addresses. If it is not, click on Personal Addresses to highlight it.
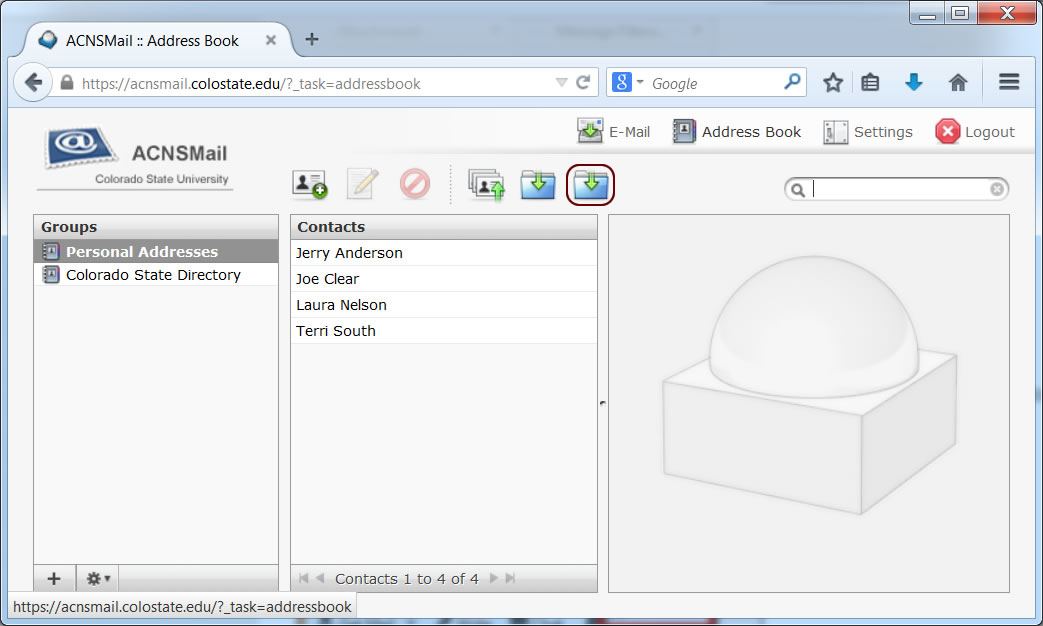
- There are two export icons available, which are displayed as file folders with down arrows. The second one (indicated with red box below) will create a .csv file called rcube_contacts.csv. Click on that icon and save the file created:

Be sure to note where the file is stored on your device, so that it will be available for import into your mail client.
Import Your Address Book into Outlook 2010/2013
Note: Screenshots and main instructions are for Outlook 2013. Instructions for Outlook 2010 are added in parentheses.
- Start Outlook.
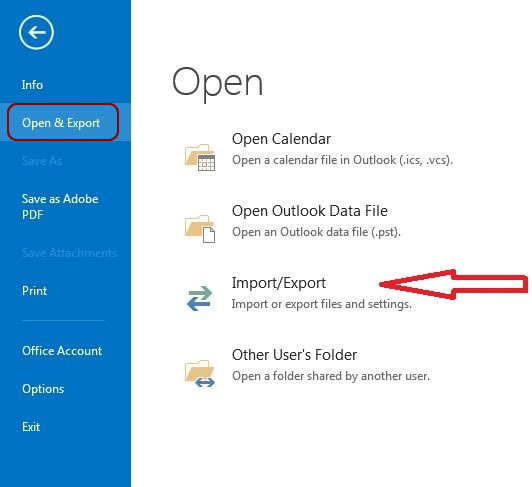
- Click on File > Open & Export. (Outlook 2010: click Open.)
- Click Import/Export. (Outlook 2010: click Import.)
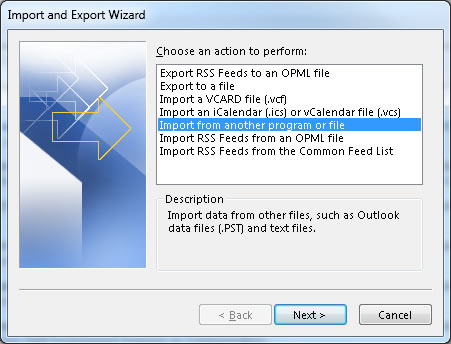
- Click "Import from another program or file," and then click Next.
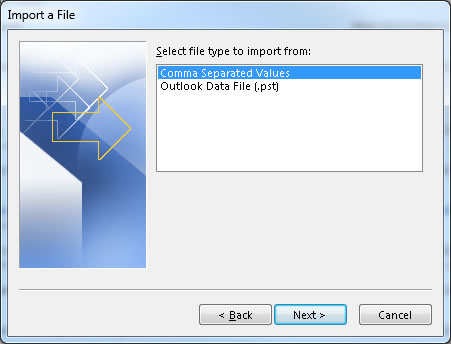
- Under "Select the file type to import," click "Comma Separated Values (Windows)," also known as a CSV file.
- Click "Browse" to select the CSV file that you want to import (the file you created earlier), then click OK.
- Under Options, choose one of the following radio buttons for how to deal with duplicate contacts, then click Next:
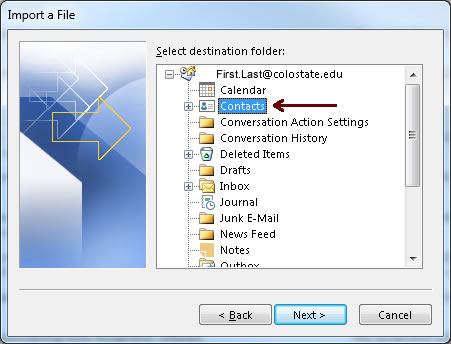
- Under "Select destination folder," browse to the folder labeled "Contacts" and highlight it. Click Next.
- Click "Finish" to confirm that you want to import the contacts. This can take a few minutes depending on the size of your file.
Replace duplicates with items imported. If an Outlook contact already exists, it is replaced by the information that you are importing.
Allow duplicates to be created. If an Outlook contact exists, the imported contact is created as a second contact.
Do not import duplicate items. If an Outlook contact exists, the information for the imported contact is not imported.