Using Retention Policies in Office 365
Introduction
Office 365 retention policies can be used to automatically delete e-mail older than a specified time. Default retention policies (which can't be modified by users) are applied against the "Deleted Items" and "Junk Mail" folders to automatically remove items older than 30 days from each folder. No other folders have retention policies applied by default but users may choose to apply personal retention policies to automatically delete e-mail from non-system folders (i.e. all folders except Inbox, Sent Items, Drafts, Deleted Items, and Junk Mail) after a set time period, such as 6 months, 1 year, 5 years, etc. Note that policies may take up to a week to begin applying.
Please refer to the instructions below to add retention policies to a non-default e-mail folder.
Set Retention Policies using the Office 365 Portal
- Using a web browser, go to https://portal.office.com
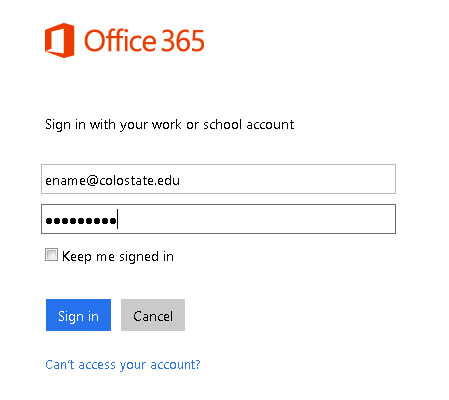
- Log in to the portal using your Office 365 username and password:
User: ename@colostate.edu
Password: eID Password
- On the landing page, click on the Mail tile.
- In the Inbox, expand the folder view.
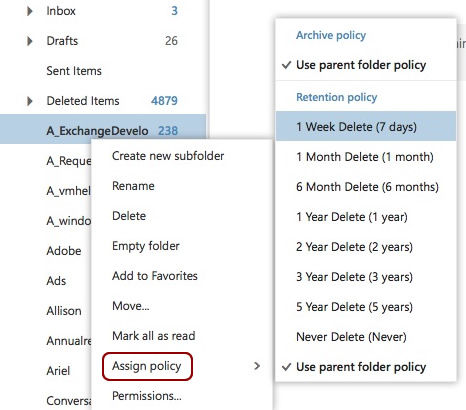
- Right-click on a mail folder that you want to apply a retention policy to.
- Click "Assign policy", and select the policy you want to apply.

Adding Additional Policies
If available retention policy timeframes are insufficient, more options are available. The extra options need to be added to your list of possible policies under the Options menu within the Office 365 Portal.
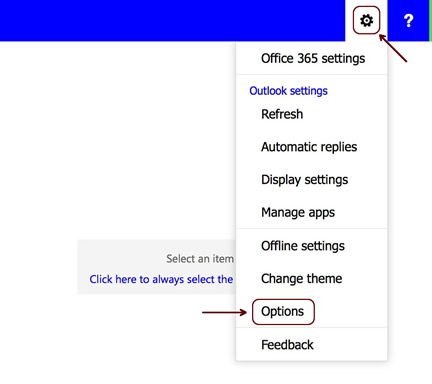
- Click the Gear icon (top right) and select "Options".

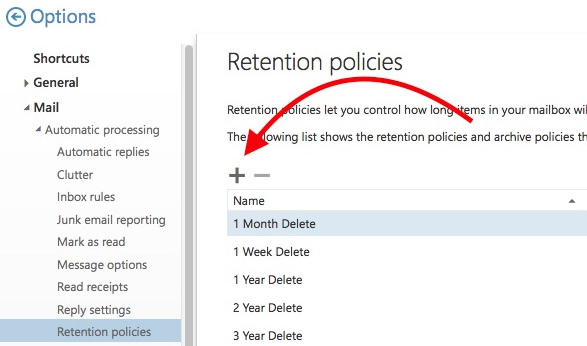
- From the Options menu, click "Retention Policies".
- Click the plus sign (+)

- Select the desired policy from those available in the following window.
- Click Add, then Save.
- This option will now be added to the available retention policies when you return to the Inbox view.

