Set up Outlook to Open a Shared Mailbox as a Second (or third, etc.) Mailbox in Office 365
There are two methods for adding a Shared Mailbox to Outlook as a second mailbox. using Method 1, all e-mail sent from Outlook will be placed in the user's Sent Items folder. Using Method 2, items sent from the shared mailbox will appear in the shared mailbox's "Sent Items" folder.
Outlook Method 1 - Using the "Advanced" Tab
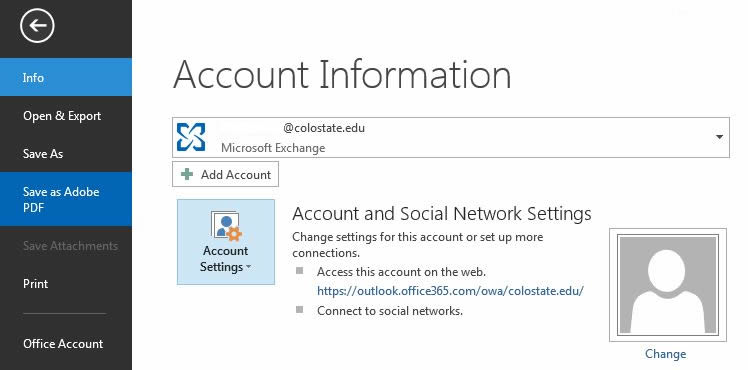
- From Outlook, click "File" and then click "Account Settings" > "Account Settings...".
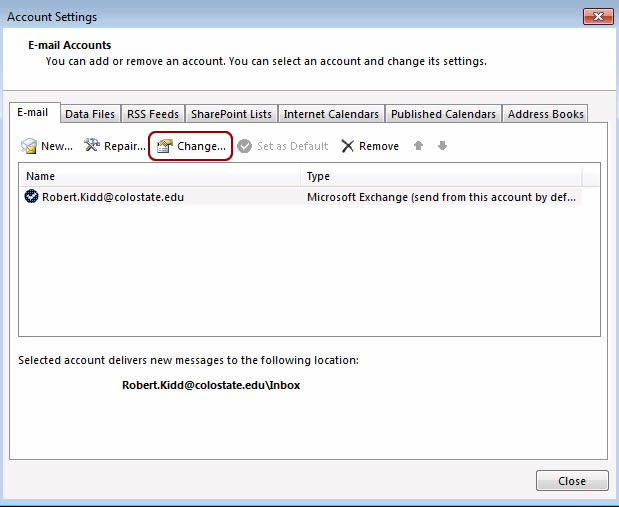
- On the resulting dialog, click "Change..."
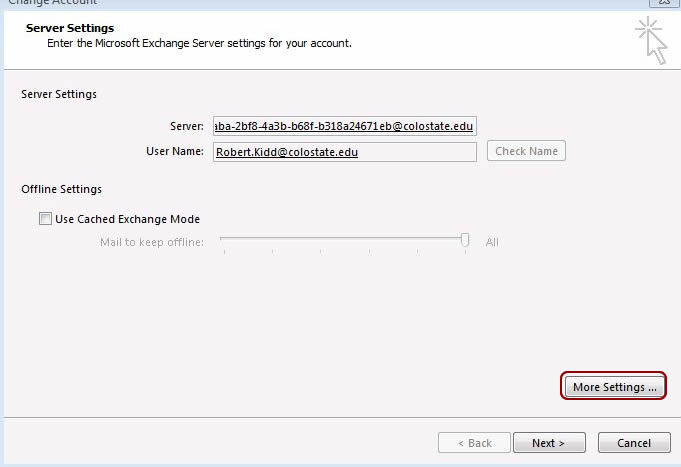
- Click the "More Settings..." button.
- Click the "Advanced" tab.
- Click the "Add" button.
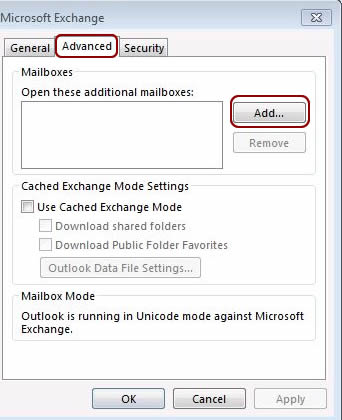
- When prompted for the mailbox to add enter the shared mailbox's name as it appears in the GAL (e.g.: ACNS Test Mailbox) and click "OK". The additional mailbox should now appear in the list titled "Open these additional mailboxes:".
- Click "OK.
- Click "Next>" to continue with the "Change E-mail Account" wizard.
- Click "Finish" to complete the wizard.
- Click "Close" to close the Account Settings dialog. At this point, the shared mailbox should now appear as additional mailbox accessible from Outlook.
Outlook Method 2 - Use "Add Account" Button
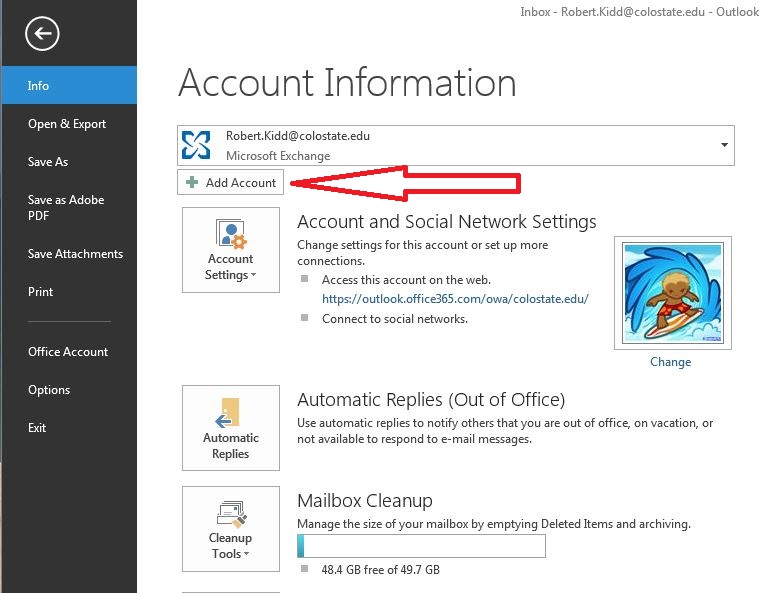
- From Outlook, click "File" and then click "Add Account."
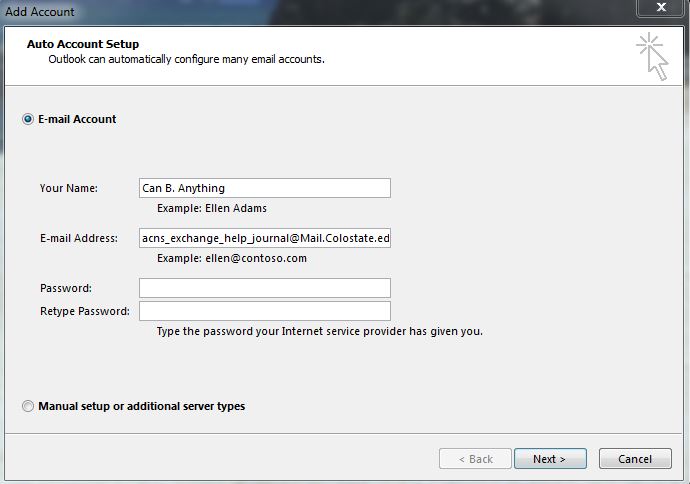
- An account setup screen will appear.
- For "Your Name," type in the name of the shared mailbox.
- For "Email Address," type in the email address of the shared mailbox.
- Leave the password fields blank.
- Click on "Next >".
- You will be prompted to enter a username and password. Enter your eName@colostate.edu and password here. (This should be an account that has been granted access to the shared mailbox.)
- Restart Outlook. Note: you may be asked to re-enter your eName and password.
- The shared mailbox should now appear as additional mailbox accessible from Outlook.
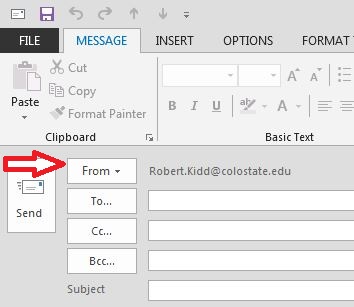
- You will now have the option to choose the account that you wish to "send as." In the Compose window, click on "From" to see a dropdown menu of the available accounts.